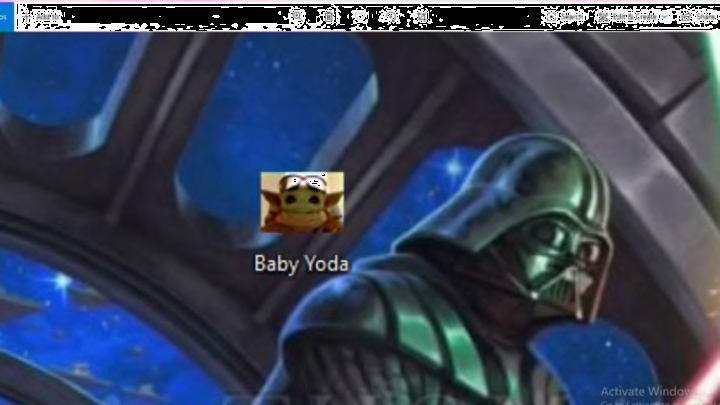
Learn to make your own Star Wars-themed desktop icon
Making your own Star Wars desktop icon could be a lot fun. Here’s a DIY guide to making your own and customizing your computer. The program I used to make these icons is called Icon Developer® created by StarDock.
Icon Developer® has a free version that can be downloaded and used for a 30-day free trial. However, it has been my experience that if you are making your icon using the PNG format then there isn’t an expiration date. Otherwise, you can attain the registered version for $9.95.
More from Editorial
- How animation changed Star Wars: Ewoks and Droids
- The Acolyte might change Star Wars storytelling
- No Star Wars for Feige, and I’m ok with that.
- 3 major ways the Star Wars Holiday Special changed canon
- If Jon Favreau remakes the Holiday Special, it needs to star Peli Motto
Once you get your version of this software you will see the opening screen telling you about this programs features, the reminder of how long you have it for (valid only for free-trial users), and other details. Press ‘ Okay ‘ at the bottom of this window and you’ll be taken to the ‘Welcome’ screen.
Step 1
Once you’re on the ‘ Welcome Screen ‘ you will need to click on the ‘ Convert Image to Icon ‘ option. Just in case you need a little guidance it’s the one with that has a capital “ I ” against a red background. Click on it to be taken to the next step.

Step 2
Clicking on this option takes you to the next screen and automatically opens a window to navigate through and find the folder with your image(s). For the free-trial version you will need to have an image that is in the PNG format. The full/registered version lets you use JPGs. So, if you want to skip some of the other steps, either have your desired image in the PNG format or buy the registered version.
Since this is a tutorial and I’m not trying to sell you anything, I’ll be using the free-trial steps to show you how to make your icon(s).
Instructions on converting an image to PNG format:
For those of you that need help converting a JPG into a PNG format, select your Star Wars image, right click on it with your mouse and go down with your cursor to where it says ‘ Open With ‘. You’ll need to select an image editing program such as Adobe Photoshop, GIMP, or Window’s Paint.
Once your program has opened the image will pop-up. If you need to, now would be a good time to make any necessary adjustments to the images color, crop it, etc. Otherwise, you will need to go to the upper left corner where it says ‘ File ‘. Click on this.
Next, go click ‘Save As.’ You will then go down to where it says ‘File Name’ and ‘Format . You can change the file name to whatever you want, or skip it and click on the menu for ‘Format’.
A little ways down on the ‘ Format ‘ menu you will see the PNG option. Click on it. While on this pop-up screen you can also choose the destination for the image at the top. When finished just press ‘ Okay ‘.
